So I wanted to run through this tutorial
But instead of using simulated data I wanted to use a real temperature sensor.
Here is my adventure –
This post will take you through the setup of the temperature sensor https://pimylifeup.com/raspberry-pi-temperature-sensor/
And alternate post with similar setup is here https://www.raspberrypi-spy.co.uk/2013/03/raspberry-pi-1-wire-digital-thermometer-sensor/
These are my quick notes –
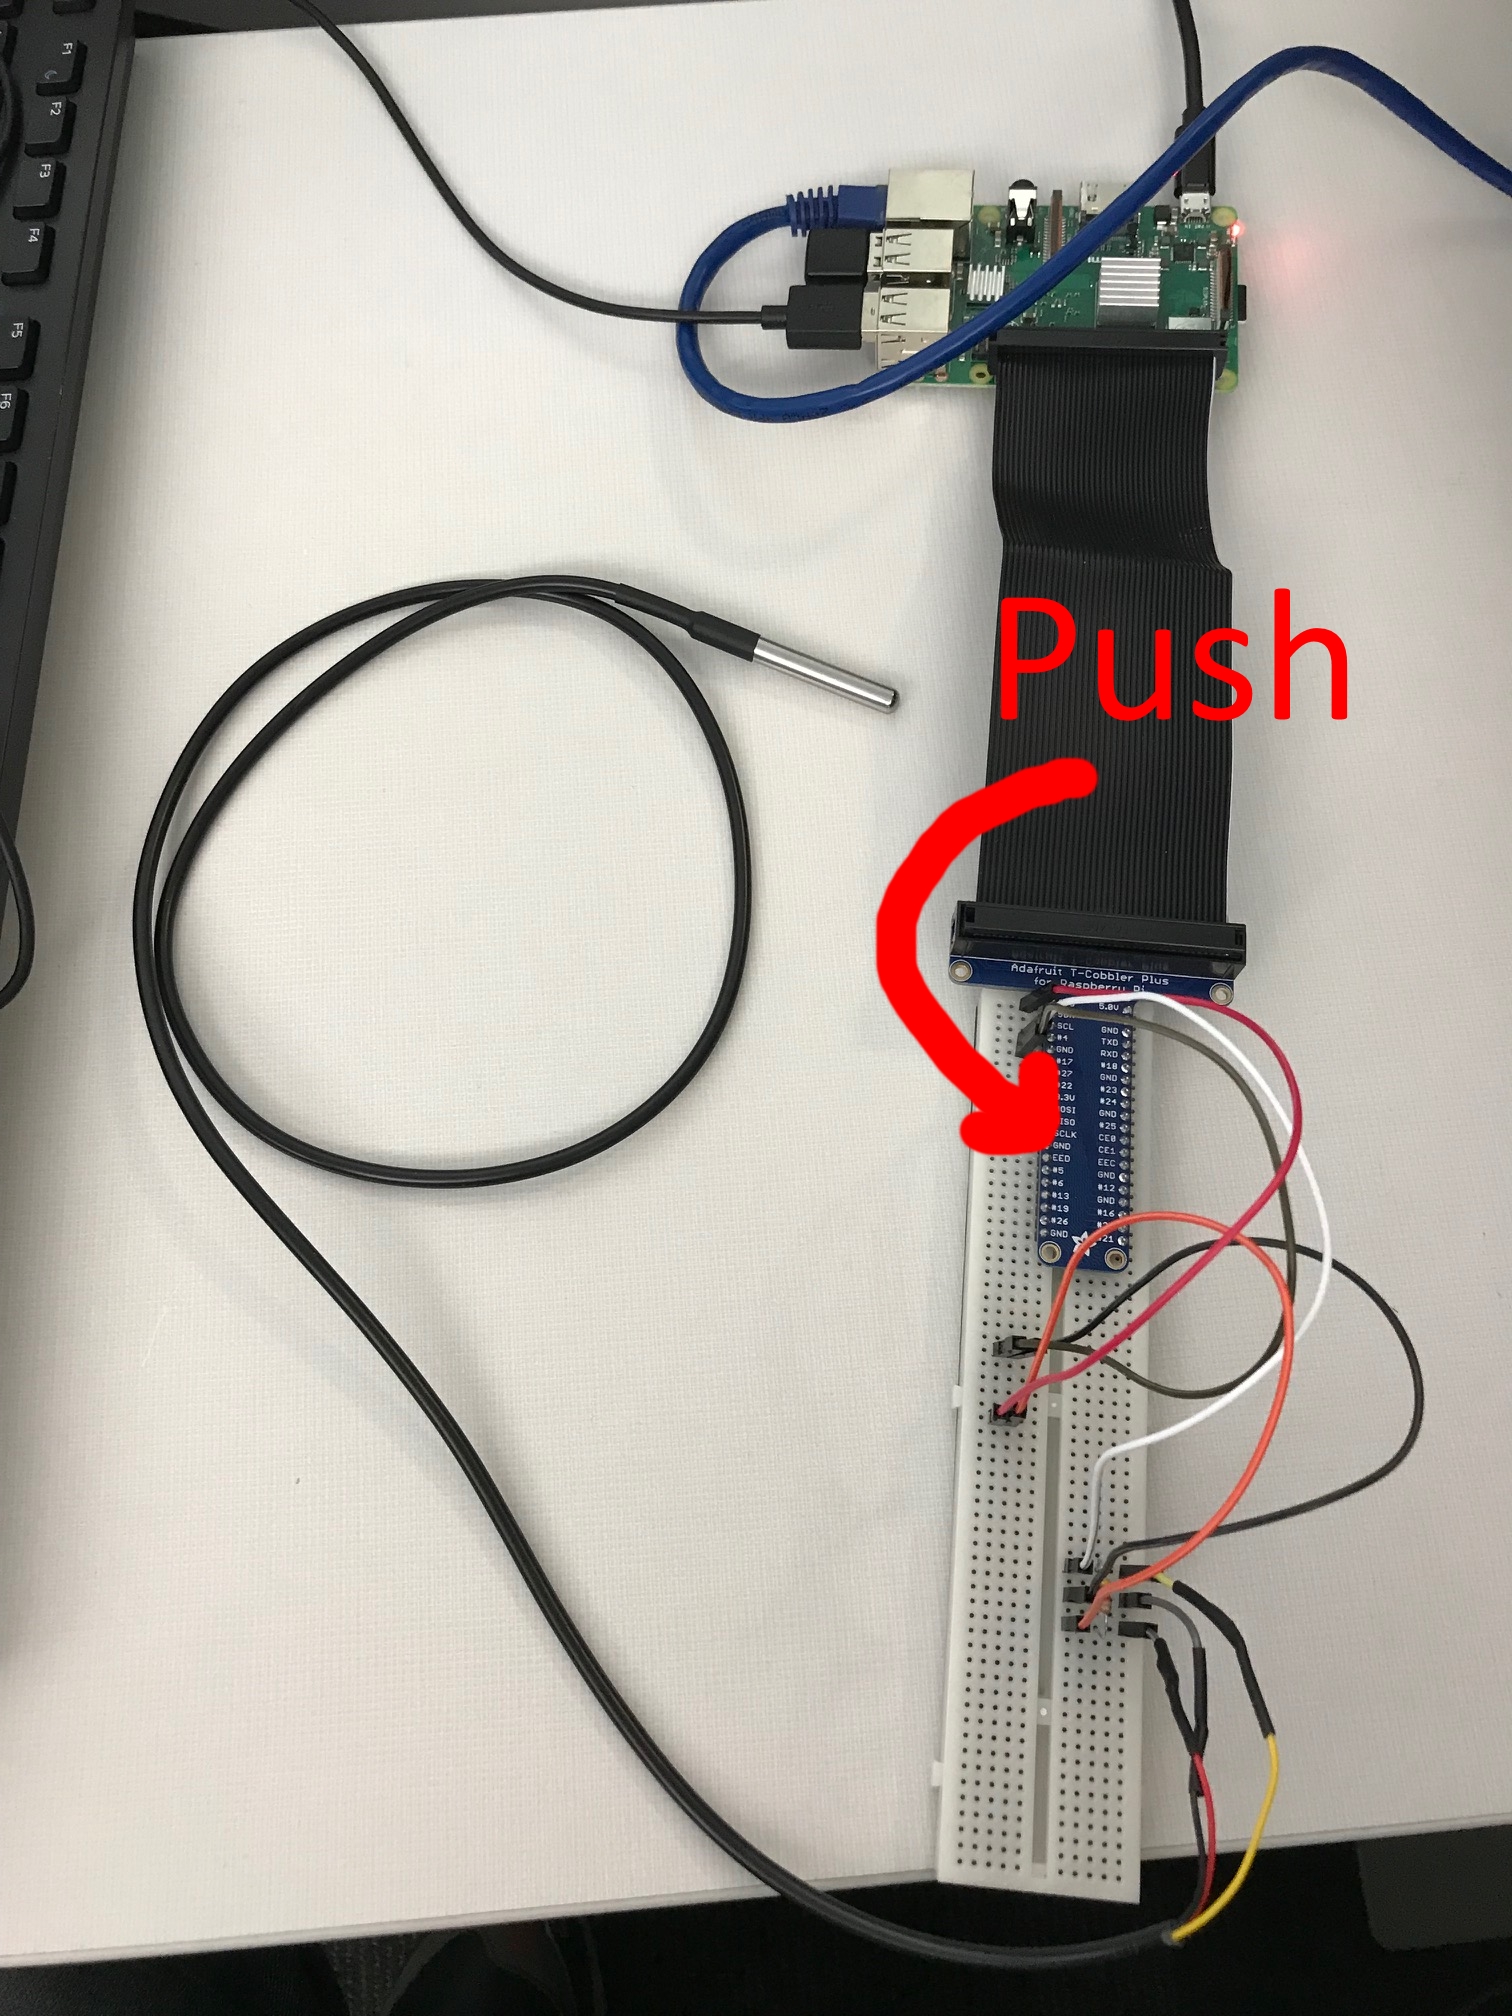
First up, the gear
1. First, connect the 3v3 pin from the Pi to the positive rail and a ground pin to the ground rail on the breadboard.
2. Now place the DS18B20 sensor onto the breadboard.
3. Place a 4.7k resistor between the positive lead and the output lead of the sensor.
4. Place a wire from the positive lead to the positive 3v3 rail.
5. Place a wire from the output lead back to pin #4 (Pin #7 if using physical numbering) of the Raspberry Pi.
6. Place a wire from the ground lead to the ground rail.

Enable one wire support
sudo nano /boot/config.txt
add the following line to the bottom :
dtoverlay=w1-gpio,gpiopin=4
You can save the file using CTRL-X, Y then RETURN. The device is setup to report its temperature via GPIO4.
For the changes to take effect you will need to reboot using :
sudo reboot
Check that it’s working
load the correct modules.
sudo modprobe w1-gpio
sudo modprobe w1-therm
2. Now change into the devices directory and use ls to see the folders and files in the directory.
cd /sys/bus/w1/devices
ls
3. Now run the following command, change the numbering after cd to what has appeared in your directory by using the ls command. (If you have multiple sensors there will be more than one directory)
cd 28-000007602ffa
4. Now run the following command.
cat w1_slave
If it works you should see a line with YES, and t= something (this is your temp)

One thing that tripped me up, I hadn’t pushed the GPIO breakout kit far enough into the breadboard! I also heat wrapped connectors to the temperature sensor.
Read part II

[…] On to part I -> https://michaelellerbeck.com/2020/01/08/aws-iot-sitewise-with-raspberry-pi-temperature-sensor-ds18b2… […]